Steps to Create APNS .p12 push certificate
1. Go to https://developer.apple.com and login in with your credentials. Click on “Certificates, Identifiers & Profiles”.
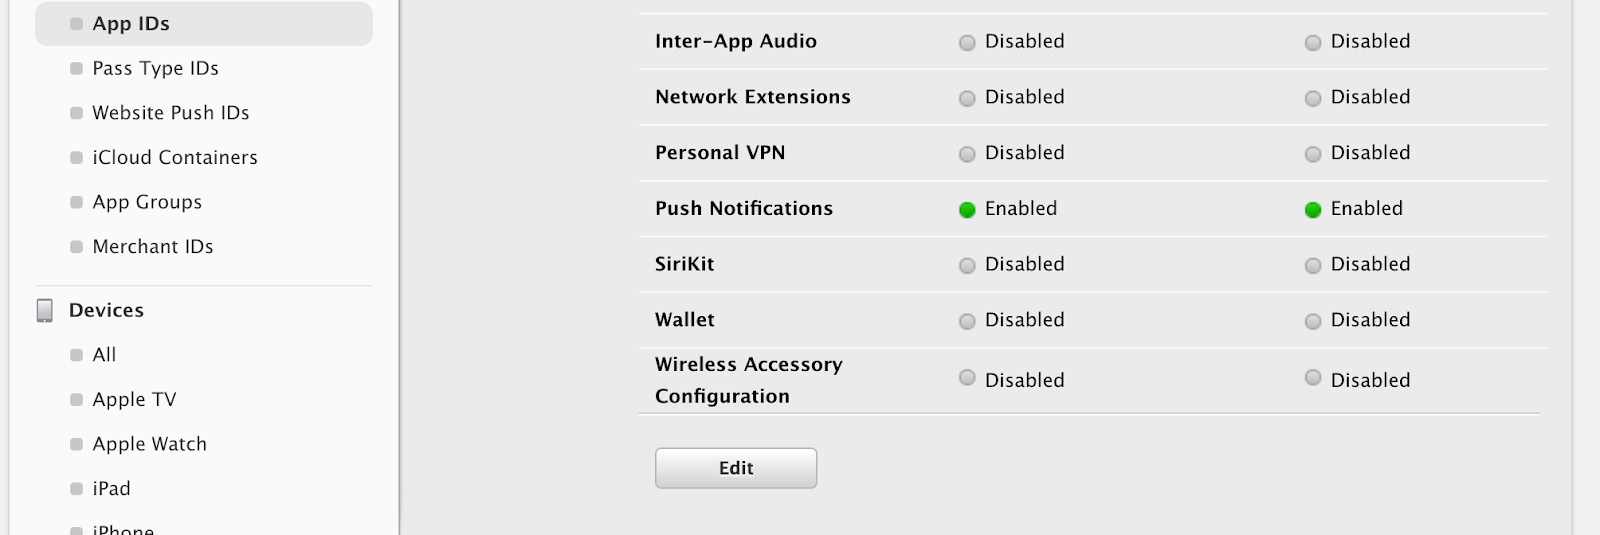
2. Under the “Identifier” section, click on “App IDs” and select your app.
Click on ‘Edit’ next.
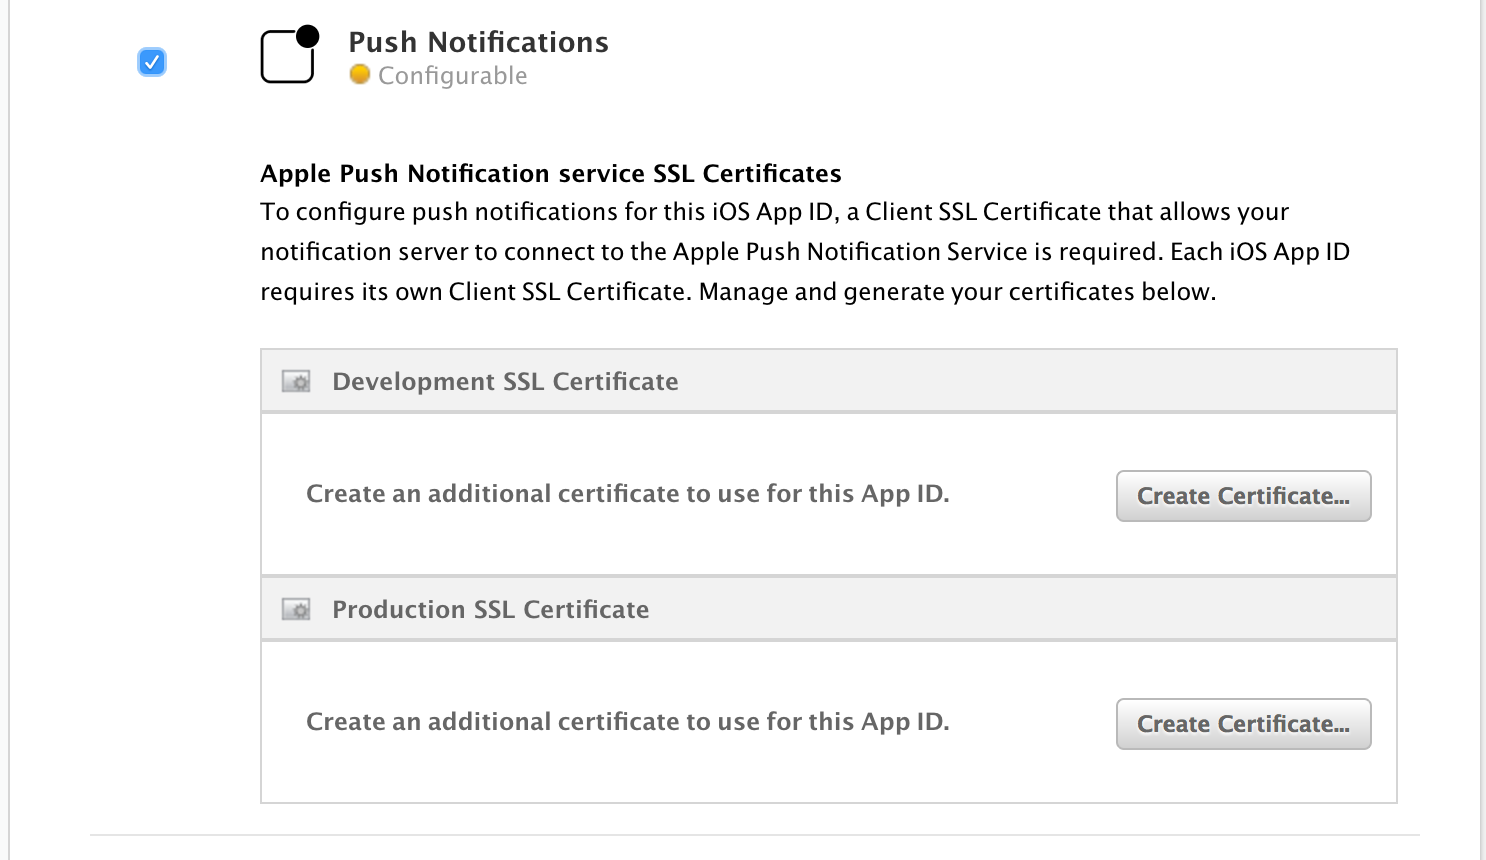
3. Select “Create Certificate” in either development or production SSL certificate section for debug or production environment respectively.
4. create your certSigningRequest file using “KeyChain Access” as mentioned below.
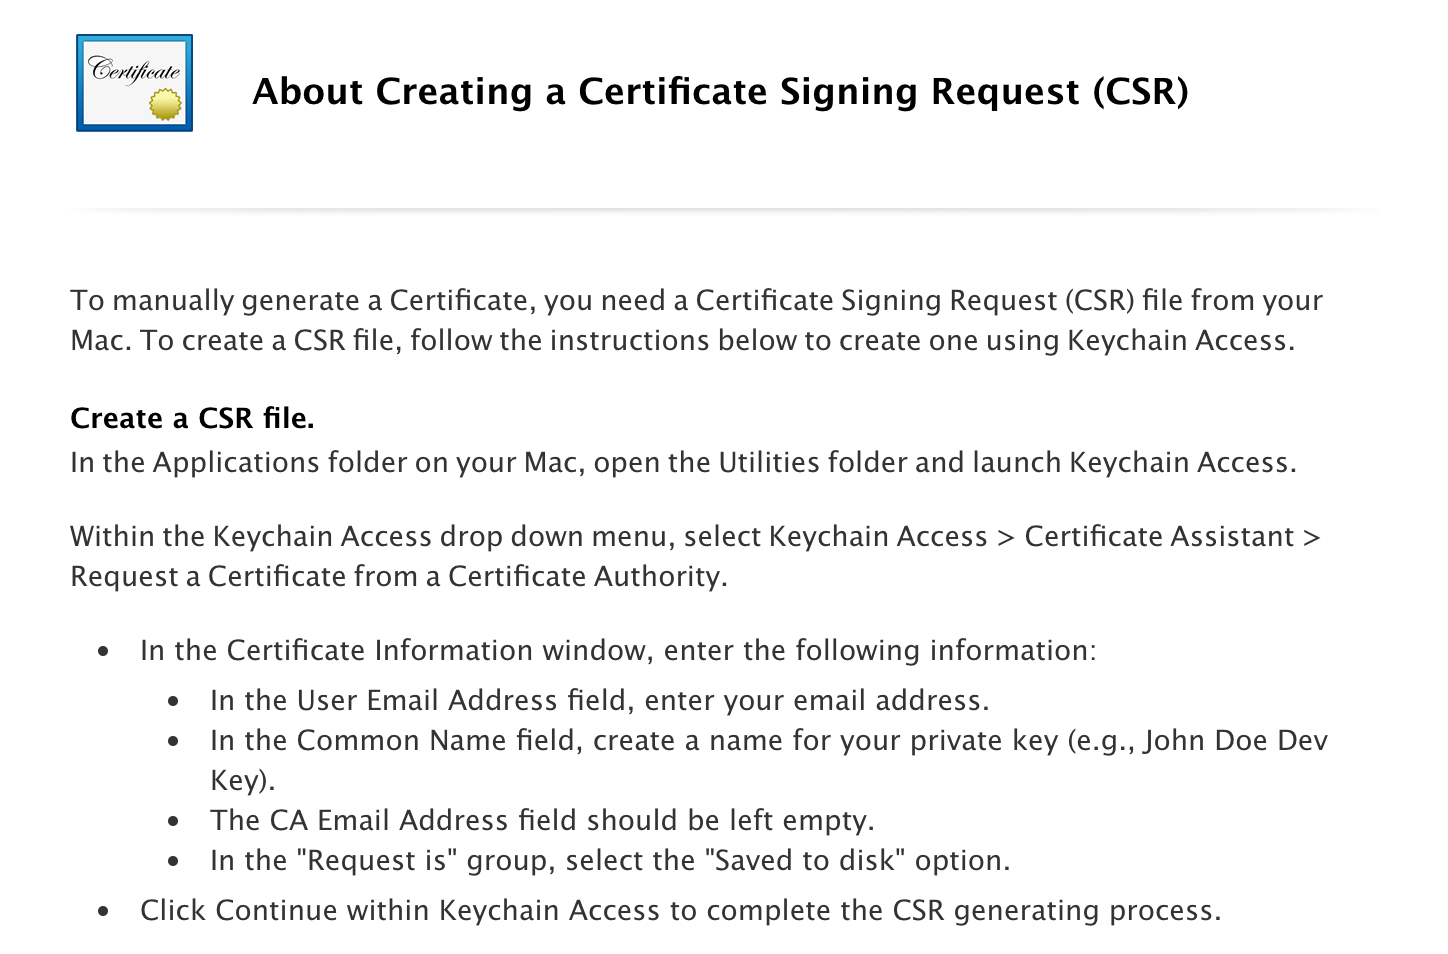

Add your email address and save the certSigningRequest in your machine.

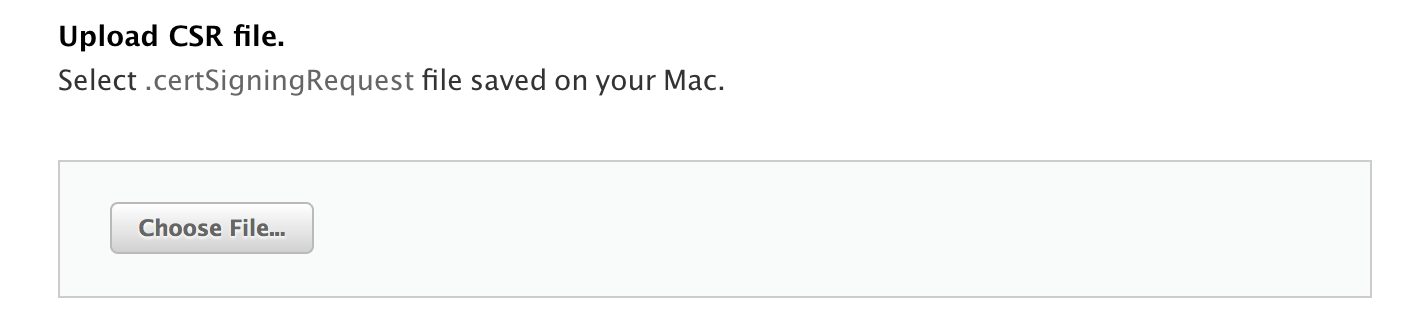
5. Upload the certSigningRequest file you created in the above step.
Finally, click on “Download” and “Done”.
6. Open your downloaded certificate in Keychain and right click on the file to export both the items as shown in the screenshot below, which also prompts you to download the .p12 file. Make sure you add a password to the .p12 file while you export it.

7. The certificate Password and App’s bundle ID are COMPULSORY in web portal. The password here should match the one you created while exporting the .p12.
Add them to https://web.freshchat.com/settings/apisdk to complete your web configuration.
If it is a production certificate it is MANDATORY to check “Production certificate” for production app.

Freshchat also supports single certificate(.p12) for both production and development environments. It can be created from "Certificates" section and has to be uploaded again every time environment changes.
Note: There is a time span of 30 mins to receive and push whenever there is a change in the environment.
Code level changes are quite easy and straightforward for the Freshchat notification in your app.